Showing posts with label dessert. Show all posts

Monday, January 13, 2014

Summer Ice Cream Cake

 photo IMG_1253.jpg

 photo IMG_1247.jpg

 photo IMG_1276.jpg

 photo IMG_1261.jpg

This ice cream cake has two magical layers. The first, Nigella's meringue gelato cake - creamy with morsels of marshmallowy meringue and a hint of coffee liquer. The second, a super easy chocolate ice cream - just rich chocolatey goodness. Topped with wonderfully ripe cherries, raspberries and pomegranate seeds, it's a great way to a cool down on a sweltering hot summer's day.

 For how good it looks and tastes, it's a crime how easy it is to put together. I was surprised that there was absolutely no churning involved yet the texture of the ice cream was smooth and creamy.

Ingredients
300ml double cream
105g chocolate, chopped (I used milk chocolate, mama likes it sweet)
30ml coffee liquer
100g meringues
600ml pure cream
¼ cup cocoa powder
4 egg yolks
½ cup caster sugar
Fruit to top with

1. Whip the double cream until soft peaks form. Add 30g of chopped chocolate and coffee liquer and fold. Crush the meringues into the mixture and fold until combined.
2. Place mixture in a loaf tin lined with baking paper and pack down into all the corners. Put in freezer.
3. Heat the pure cream, 75g of chopped chocolate and cocoa powder in a saucepan on low heat until the chocolate has melted.
4. Whisk egg yolks and caster sugar in a large bowl until pale and creamy. Slowly pour in heated cream mixture, whisking constantly. Pour the whole mixture into the saucepan, cook on a low heat, stirring constantly until it thickens enough to coat the back of a wooden spoon.
5. Cool the chocolate mixture down in a bowl (clingwrap the top so it doesn't form a skin) then pour into the loaf tin on top of the first layer. Put in freezer for at least 4 hours or overnight.
6. Once frozen, flip the ice cream cake onto a plate and top with fruits. Serve quickly and enjoy!

Sunday, January 5, 2014

The Cronut

 photo IMG_1168copy.jpg

 photo IMG_1121.jpg

 photo IMG_1197.jpg

 photo Cronut_1.jpg

 photo IMG_1148.jpg

 photo IMG_1231.jpg
Ah, the mythical cronut - part croissant, part donut, all noms. Tales of its sweet delights travelled to us one night on the television when Dominique Ansel was on Late Night with Jimmy Fallon to cook his beautiful creation. I haven't had the New York City cronut but I found a recipe for an imitation version by Edd Kimber.

These babies are an absolute treat - flaky, buttery and scrumptiously fluffy. To make these, you'll need a bit of patience and a lot of kitchen counter space. But once you cut out your little cronut discs and lower them into the oil to fulfill their delicious destiny, you'll know it was all worth it.

Ingredients
60ml milk
65ml warm water
6g dried yeast
150g cold diced butter
250g plain flour (The recipe calls for 125g plain flour and 125g strong flour. I couldn't find strong flour so I used all plain flour and added bread improver.)
5g bread improver
30g caster sugar
½ teaspoon salt
vanilla sugar
icing sugar
milk
vanilla extract

1. Combine milk, water and yeast in a bowl.
2. Pulse the cold butter, flour and bread improver in a food processor until it looks like lumpy breadcrumbs.
3. Combine the flour mixture, the wet mixture and the caster sugar and salt until form into a dough. Cover with cling wrap and fridge for 2 hours.
4. Roll the dough into a rectangle about 1cm thick. Fold the dough into thirds, turn and roll again. Repeat this 2 times. I found the dough to be quite sticky at the beginning of the rolling but by the time I folded it a few times, it became a nice, smooth dough.
5. Cover dough with cling wrap and fridge for at least 4 hours or overnight.
6. Roll out the dough to about ½cm thick and cut out your cronut discs with cookie cutters. Put the discs on a tray lined with baking paper, cover with a tea towel and let prove for 1 hour.
7. Fry cronuts in oil at 170ºC until puffed up and golden.
8. Drain on paper towels and toss in vanilla sugar.
9. Make glaze by mixing icing sugar, vanilla extract to taste and a splash of milk. Drizzle on cooled cronuts.

Wednesday, May 16, 2012

Croquembouche

SAM_3402
SAM_3394
SAM_3376
SAM_3361
SAM_3371
SAM_3400
Custard-filled and white chocolate coated profiteroles on a chocolate iced sponge base

This was my first attempt at making profiteroles, which made the croquembouche idea even more ambitious. I'm so psyched that it all worked because every step was a labour of love for my boyfriend's birthday. I made the profiteroles using Raymond Blanc's recipes for choux pastry and creme patissiere here.

1. Make a cake base of your choice.
2. Make the pastries, dip them in melted white chocolate, fill with creme patissiere and stick them on the cake base with toffee.
3. Decorate with toffee strands (using a spoon, cool toffee down enough for it to make long, thin strands, then drizzle around the croquembouche).

Thursday, October 6, 2011

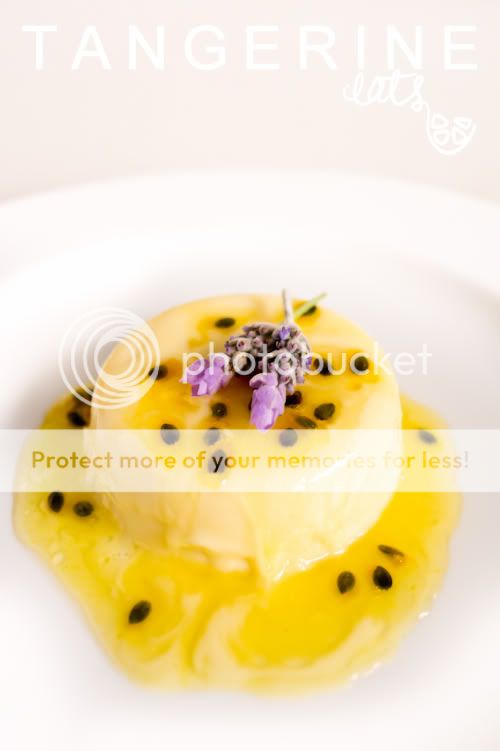
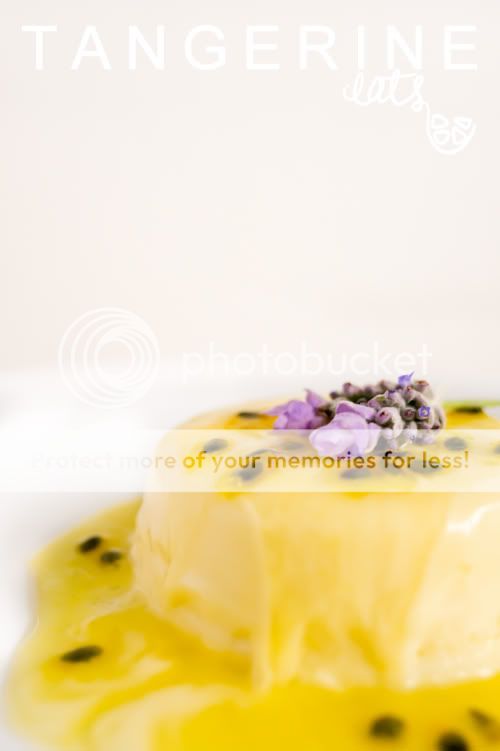
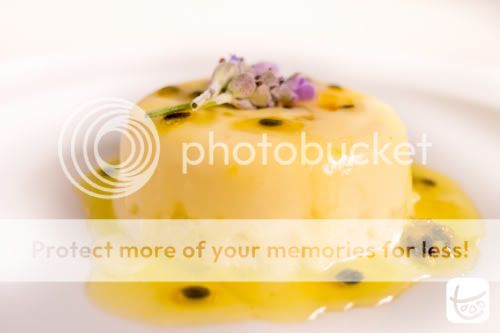
Lavender Panna Cotta


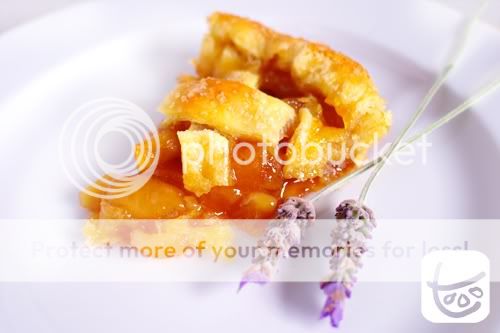
There's a lavender bush in a small lane near my place and it gives off the loveliest scent. Even though I felt a little bit naughty about it, I had to bring some home. I've always wanted to make a lavender-infused dessert so I decided to make lavender and honey panna cotta with passionfruit syrup.


This recipe is adapted from Hugh Fearnley-Whittingstall's elderflower vanilla panna cotta recipe on River Cottage Every Day. (Incidentally, HFW makes me want to move to the country, grow my own vegetables and raise a family of lambs.)


So creamy and florally...


You'll need:

100ml milk
250ml double cream
30g castor sugar
1 tablespoon honey
1 teaspoon vanilla extract
Some lavender heads (I used 8)
2 teaspoons gelatine powder
150ml natural yoghurt

Place milk, cream, sugar, honey, vanilla and lavender in a small saucepan over low heat. Remove from heat as soon as it bubbles. Leave to infuse for half an hour.

Strain through a sieve and place back into saucepan. Warm over low heat.

Mix gelatine in with a third of the mixture. Stir into the whole mixture. Cool completely.

Stir in yoghurt.

Pour into 4 moulds. I used ramekins, lightly greased with vegetable oil.

Set in fridge for at least 2 hours.

When you're ready to serve, dip each mould into hot water for 10 seconds and then flip out onto a plate.

Drizzle with passionfruit syrup (combine 1 passionfruit, ¼ cup sugar and 1 tablespoon water in a saucepan over low heat and simmer for a few minutes).


Enjoy!

Sunday, October 2, 2011

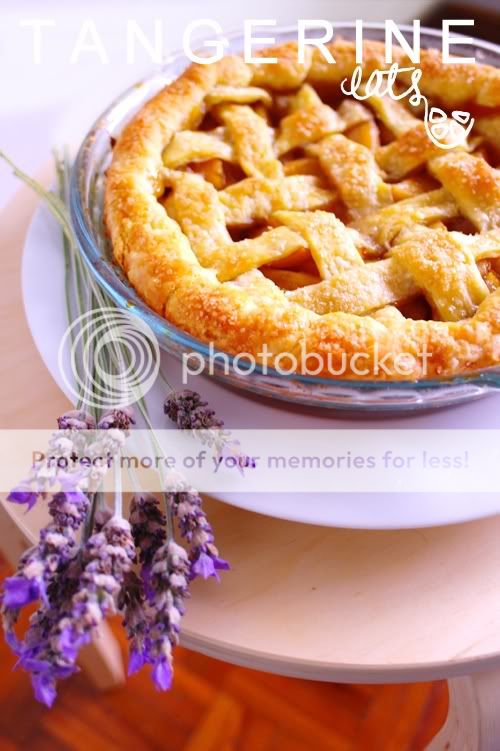
Apple Pie


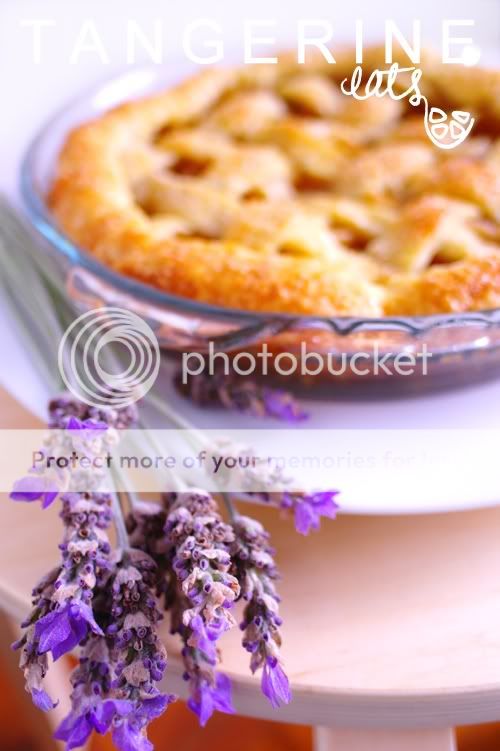
I always find myself with an obnoxious surplus of apples in the fruit basket. Dan loves having them in the house and will bring bags of the stuff home. Me, I'm a slow eater and I can never finish an apple before it turns brown. So at the end of the week, instead of letting it go to waste, I make something with it that I can eat as slowly as I want.


Sometimes I put slices of green apple into cocktails and sprinkle with sugar; sometimes I cover diced apple with custard; but apple pie is the most gratifying. It's so simple to make as well. All it takes is a bit of love and some handiwork.

Check out my post on The Curry Tiger (a curry beef pie with mash, peas and gravy) for the pastry recipe.

Apple filling

You'll need:

5 large apples
½ cup brown sugar
¼ cup white sugar
¼ cup water
1 teaspoon vanilla extract (never essence!)
1 teaspoon cornflour

Peel and cut apples into 1cm thick slices.

Place apples, sugars, water and vanilla in a small pot over low heat.

Simmer until the apples are just cooked through.

Remove apples and mix cornflour into the syrup.

Place apples and syrup into a shallow dish and cool completely in the fridge.

Put the filling in the pastry and create a lattice lid.

Fold down the edges to make a crust.

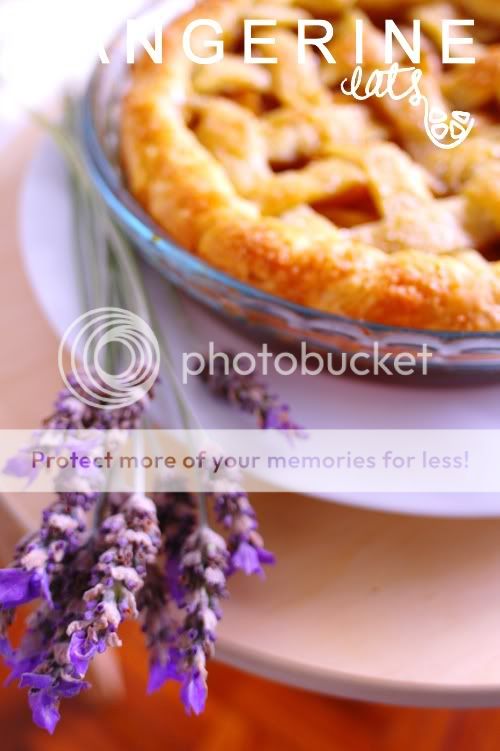
I glazed the top of the pastry with a ginger sugar syrup (thinly slice a 2cm knob of ginger and simmer gently in ¼ cup sugar and ¼ cup water for half an hour) and sprinkled it with demura sugar for a nice little crunch.

Bake at 220°C until golden brown (my oven took 40 minutes again).

Enjoy!

Friday, April 23, 2010

Gooey Rocky Road Soufflé

I'll let you in on a secret: when it's late at night and there's no one else on the road, I will more than likely drive over roundabouts. Of course, I also avoid my boyfriend's glares and then sheepishly explain, "I don't like moving my arms." I'm not an inactive person, I'm actually quite athletic. It's just that at the end of a long day of driving - granted curves and bends are fun - my arms are tired and roundabouts are just too much.

Likewise, some things like rocky road involve too much chewing. It tastes great, don't get me wrong, but after 3 bites my mouth is just in mastication overkill. This is why I decided to make a gooey rocky road: the same great taste but with 95% less chewing required.

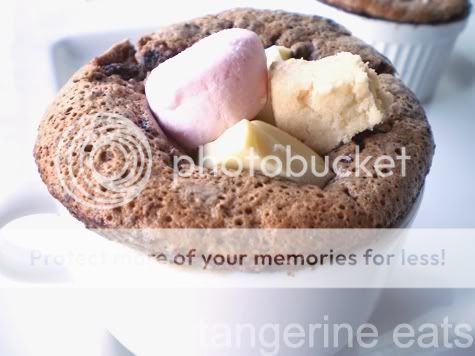
To a chocolate soufflé, I added pink marshmallows, white chocolate bits and macadamia shortbread. The white chocolate and marshmallow melt into the soufflé and you end up with a rich, intensely chocolatey soufflé with gooby bits on top. The macadamia shortbread is dense and crumbly and it all just melts in your mouth. This is exactly the kind of lazy eating that's needed for a long weekend.

Gooey Rocky Road Soufflé
Adapted from Gordon Ramsay's Chocolate Soufflé recipe

Unsalted butter for greasing, softened
6 squares dark chocolate, finely grated
20g cornflour
200ml milk
200g dark chocolate (at least 70% cocoa solids), chopped
80g egg yolks
200g egg whites
150g castor sugar
Pink marshmallows
White chocolate bits
Macadamia shortbread

Preheat oven to 180°C.

Grease the sides of 8 small ramekins with butter in upward strokes. Refrigerate for 5 minutes and grease again. Sprinkle grated chocolate on the sides evenly.

In a small saucepan, combine cornflour with a bit of milk and create a smooth paste. Gradually mix in rest of milk. Bring to the boil on low heat, whisking continuously. When the mixture thickens after around 30 seconds, add chocolate and whisk until the chocolate is melted. Remove from heat and whisk egg yolks in. Cool in a large bowl.

Beat egg whites with an electric beater. When medium peaks form, gradually add castor sugar. Beat until thick and glossy.

Carefully fold egg whites into chocolate mixture, one third at a time, until just combined.

Pour into ramekins and level off with the back of a knife.

Bake for 10-12 minutes, or until the soufflés have risen well past the rims of the ramekins.

Serve immediately with marshmallows, white chocolate bits and crumbled macadamia shortbread.
Photobucket

Tuesday, April 20, 2010

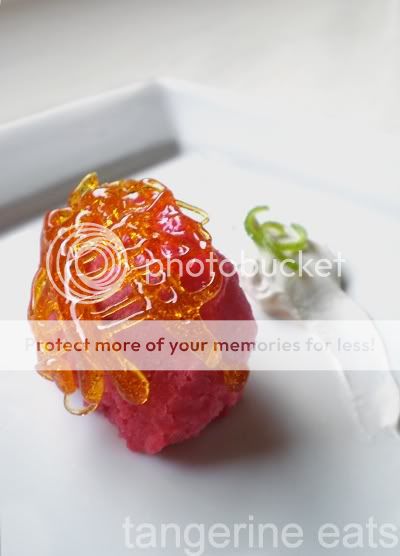
Raspberry Sorbet, Toffee and Lime

When I think about foods like blue cheese or even something simple like meringue, I always wonder how people came to invent these recipes. How did someone know to leave cheese to age for a few years or beat egg whites for a long time and then bake it? Well a few nights ago I had a similar revelation: I stumbled across how to make a really great sorbet.

It started with a long day of uni work, coming home spent and having to push on into the night. I needed a raspberry smoothie. Bad. I blended raspberries, ice cubes, icing sugar and fruit juice together and found that it had the texture (if not a bit softer) of sorbet. Then I remembered from an episode of The Naked Chef that sorbet is essentially frozen sugar and water. Man am I glad I made a smoothie that night, because I never knew making sorbet was this simple!

So now that I don't have back-to-back assignments, I decided to make it again tonight with some adjustments. I added a thick sugar syrup with glucose so that it'd hold and it'd have that lovely thick texture of mango sorbet. I've got to say, I am really happy with this recipe so I hope you guys enjoy!

Raspberry Sorbet

2 milk glasses of ice cubes (smoothie measurements!)
1 milk glass of raspberries
½ cup sugar
¼ water
1 cinnamon quill
1 teaspoon vanilla extract
1 tablespoon glucose
Icing sugar to taste

Place sugar, water, cinnamon, vanilla extract and glucose in a saucepan over medium heat. Bring to the boil then simmer for 5 minutes. Remove from heat, take out the cinnamon quill and cool completely.

Place ice, raspberries and sugar syrup in a blender. Blend until smooth.

Depending on the sweetness of the raspberries, you may want to add icing sugar for extra sweetness.

Set in a shallow dish in the freezer overnight.

Toffee Shell

½ cup sugar

Lightly grease the backs of metal tablespoons.

Heat the sugar over medium-low heat until the it liquifies and colours slightly. Remove from heat. Cool until you can make ribbons on the surface.

Drizzle over the spoons in criss-cross patterns.

Cool the spoons in the freezer for a minute and gently remove toffee from spoon.

Set aside at room temperature.

Mould the sorbet with two tablespoons and fit the toffee shell onto one side. Serve with creme fraiche and candied lime zest. It's creamy, sweet, fruitily refreshing and the toffee adds a crunch to it.

Tuesday, April 6, 2010

Easter Egg Mousse Cups

It's no secret - I am a very busy lady. I wish I could say it's because I lead an exciting life, but I can't. No, that's not true - today I cracked open a double-yolked egg. Anyway, spare time is hard to come by and over the four day Easter long weekend, I could only find four consecutive hours to shop for ingredients and cook. This really put a kibosh on my dream of making something extravagant like a simnel cake (oh cake with balls of marzipan, fate will bring us together one day).

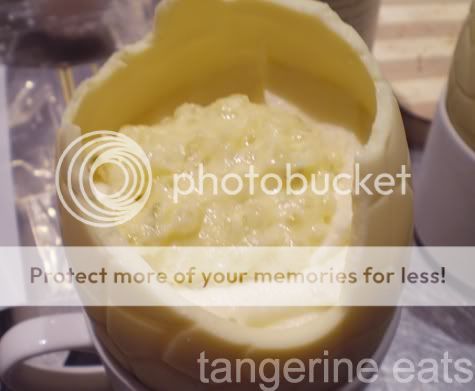
So I decided to turn something simple into something exciting: chocolate easter eggs, filled with chocolate mousse, filled with a choice of toppings.

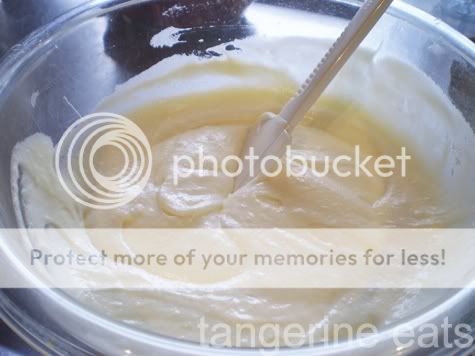
I used my chocolate mousse recipe with white chocolate.

Even though it sounds dead easy, there was a little drama. After buying two easter egg moulds from Wheel & Barrow ($6.95 each), I got home and realised they were useless unless you wanted giant balls of solid chocolate. I cheated and drove back to Chatswood Chase to buy pre-made chocolate eggs, but if you want to make easter eggs yourself, opt for thin and flexible plastic moulds and use lots of oil.

The fillings were the most fun to make, and Dan even helped out! After the beautiful Easter dinner Dan's mum prepared for us, Dan and I served up these babies while everyone picked which topping they wanted.

Butterscotch sauce (recipe courtesy of smitten kitchen)

¼ cup butter
½ cup packed brown sugar
½ cup heavy cream
½ teaspoon sea salt
teaspoons vanilla extract

Melt butter over medium heat and add sugar, heavy cream and salt. Combine well. Remove from heat and add vanilla extract. You can add more salt to taste. I love the contrast of sweet and salty in dessert.

Lime and tapioca pudding

100g white chocolate
½ cup heavy cream
Zest of 1 lime
Juice of ½ a lime
2 tablespoons tapioca seeds

Simmer tapioca seeds in water for 15 minutes or until they turn translucent. Heat chocolate, cream and lime zest over low heat. Combine well. Remove from heat and gradually whisk in lime juice (like you would when whisking lemon juice into hollandaise sauce). Drain tapioca and stir in. This has the wonderful texture of rice pudding and tastes heavenly.

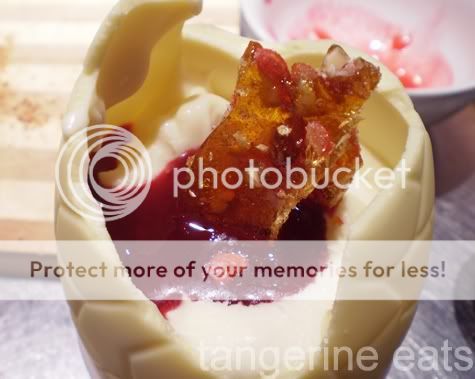
Raspberry with vanilla almond praline

1 punnet raspberries
cup sugar
Handful of candied vanilla almonds

Heat raspberries and ¼ cup of sugar over low heat for 10-15 minutes, stirring occasionally. Push through a fine sieve and you have a raspberry coulis. Set aside. Heat 1 cup of sugar over low heat until it caramelises. Place the almonds in a ziplock bag and crush with a mallet or rolling pin. Lay out in a flat layer on a baking tray, lined with greaseproof paper. Pour caramel over and set in the fridge. Score the praline and break into pieces to serve.

Salted duck egg yolk

I was most excited about this one purely because I was so curious about whether or not it'd taste good with chocolate (it works with moon cake, so why not other desserts?). You can buy salted duck eggs from Asian grocery stores or you can make them yourself by preserving duck eggs in salt water for 3-4 weeks. I love the texture of salted duck egg yolk, it's so unique. It's not as dry as chicken egg yolk (when cooked through), it's firm to the touch but it melts in your mouth. As I suspected, it worked amazingly well with the chocolate mousse. It was slightly sweet, slightly salty, and with the mousse it was like eating moon cake ice cream.

I hope everyone had a lovely Easter weekend. I cannot wait for the carnie food at the Royal Easter Show!

Friday, March 19, 2010

Macarons Part I: Basic French Macaron Shell


They say that making macarons is an endeavour best left to the French. After several failed attempts, I realised that there is a lot of wisdom in that adage.


Except that when I want something, I will not stop until I succeed. Maybe it's the law student ambition in me; maybe it's my passion for food that doesn't let me shy away from a challenge.


Using David Lebovitz's blog as a starting point, I read and read about the meticulous method of making macarons. As Lebovitz explains in "Making French Macarons: Instructions & Recipes", making macarons is more about technique rather than following a recipe. For tips on macaron shell technique, I found David Lebovitz, Duncan Markham at Syrup and Tang and Corry at Bake It Off to be the most useful sources on the internet.

I tried out two recipes: Duncan Markham's recipe for a basic French macaron and Pierre Hermé's recipe for hot sugar syrup macarons. These recipes were by no means fool-proof or simple to master because they didn't involve the use of cream of tartare or lemon juice to aid the formation of stiff peaks in the egg whites. It took me about 15 eggs, almost 1kg of almond meal and 3 whole days in the kitchen to make a decent macaron shell. There were tears, tantrums and the spontaneous shouting of "Why!" and "It's not fair!" in my sleep. But imagine my joy when I'd made a bona fide French macaron!


However, it was a long learning process. My first few attempts came out porous and deflated. I couldn't understand why - I'd followed the recipes to the T. Dan's mother Barb suggested that I start from basics, beating an egg and making meringue. It made sense, getting to know the science of how the ingredients interact with each other, taking one step at a time. So that's what I did - no colouring and no added flavours (my ambitious strawberry syrup did not work with the macaron batter). I focused on the 4 ingredients used in Duncan Markham's recipe: egg whites, almond meal, icing sugar and castor sugar.

Working with the 4 ingredients


Egg whites


Using 1 egg, I tested how far I could beat it without curdling it. This gave me a better grasp of what soft, medium and stiff peaks looked like. The best way to test which stage you are at it is to stop beating every minute or so and lift the beaters out to see. When it reaches soft peaks, the egg whites will look like a sudsy foam with visible bubbles. Medium peaks means that the bubbles are barely visible and when you lift the beaters out, it will rise up and flop back down. I couldn't actually reach stiff peaks without castor sugar (as it helps bind egg whites). You will know you've got stiff peaks when the mixture is glossy, has obvious ripples and when you lift the beaters the peak will stand up on its own. Edit: Between medium and stiff peaks, the castor sugar will make the egg whites increase in volume. If it decreases in volume again, you've overbeaten it. However, it is salvageable. Bake at a lower heat for longer so that you don't get a hollow shell.


Beating egg whites is finicky enough but with macarons there are about 4 other fronts you have to worry about:


(1) Fineness and dryness of almond meal
Whether you use whole almonds (raw, not blanched) or packaged almond meal from the supermarket (which I found doesn't work that well anyway) you need to prep it before using it in macaron mix. Fineness isn't crucial but creates a smoother shell so that it's nicer on the eyes. Dryness, however, is key because excess moisture will cause the egg whites to collapse. Preheat the oven to 150°C. Blitz the almonds or almond meal in a food processor for 1 minute. Remove lid and use a spatula to loosen all the ground almond at the bottom. Blitz for another minute. Spread into a thin layer on a baking tray. Put in the oven for 5 minutes. Cool completely.


(2) Dryness and temperature of egg whites
As egg whites contain water, you want to dry out that excess moisture for perfect macarons. To do this, separate your eggs 2 days in advance. Place the egg whites in a shallow bowl and let stand at room temperature. You can cover it, but use something that'll let it breathe, like a tea towel. Egg whites beat better at room temperature, so don't fridge them during these 2 days!


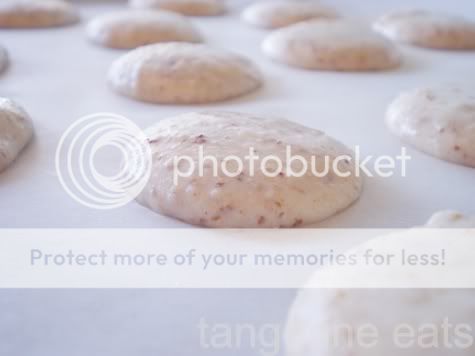
Just piped


Rested for 20 minutes


(3) Speed of incorporation
One of the most important things I learnt during my mistake runs is that you need to be fast when incorporating the dry ingredients with the wet ingredients. If you work too slowly, the egg whites will deflate and your macarons will be firm and chewy. When folding the dry ingredients into the egg whites, scrape the edge of the bowl in a semi-circle, then fold into the middle. You want to get rid of the excess air so use a bit of force.


(4) Prepping your utensils
For beating egg whites in general, always beat in a clean glass bowl, making sure that the bowl and the beaters are completely dry to begin with. Use the smallest bowl you can so that the egg whites will get maximum beatage. When baking, use thick baking trays, or stack two together (with no gap in between), lined with baking paper. You can stick down the baking paper with blobs of macaron mixture in each corner.


Macarons au blanc monté (French meringue)
Recipe courtesy of Duncan Markham ("La Macaronicite 2: basic technique and simple macaron recipe", Syrup and Tang)


1 part egg white (50g)
1.3 parts almond meal (65g)
1.6 parts icing sugar (80g)
0.8 parts castor sugar (40g)


Blitz almond meal and icing sugar in a food processor for 1 minute.


Beat the egg whites on a medium speed until medium peaks form. Gradually add castor sugar and beat until stiff peaks form.


Sprinkle half of the dry ingredients over the egg whites and fold in with a spatula. Fold in remaining dry ingredients. This is also when you would add food colourings.


When done, you should be able to make a ribbon on top that takes at least 30 seconds to disappear.


Prep baking trays and spoon batter into piping bag with a 1cm wide nozzle.


Holding the nozzle close to the baking paper, pipe your macarons about 4cm apart. Try to make them round and flat (you can dip your finger in water and smooth out the tops if needed).


Tap the tray on a flat surface to get rid of excess bubbles.


Preheat the oven to either 120°C (baking time: 20 minutes) or 180°C (baking time: 9 minutes).


Rest the shells after piping for at least half an hour in a dry place.


Bake for 18-20 minutes in the middle shelf. If doing more than one tray, bake one tray at a time.


Remove baking paper from tray and cool on a wire rack. Gently remove macaron shells from baking paper and continue cooling face up on the wire rack.


Refrigerate in an air-tight container for at least 1 day before filling.


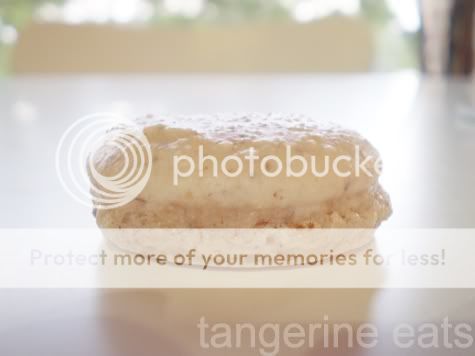
9 minutes at 180°C


20 minutes at 120°C


Stay tuned for the hot sugar syrup recipe and ganache filling!